
How to use the Property Lettings/Listings Catalogue:
Important: All edits to listings should be made on a computer with a large screen such as a desktop or laptop computer, because the admin area of your website is not mobile friendly (FYI: The front end of your site that customers see is mobile friendly)
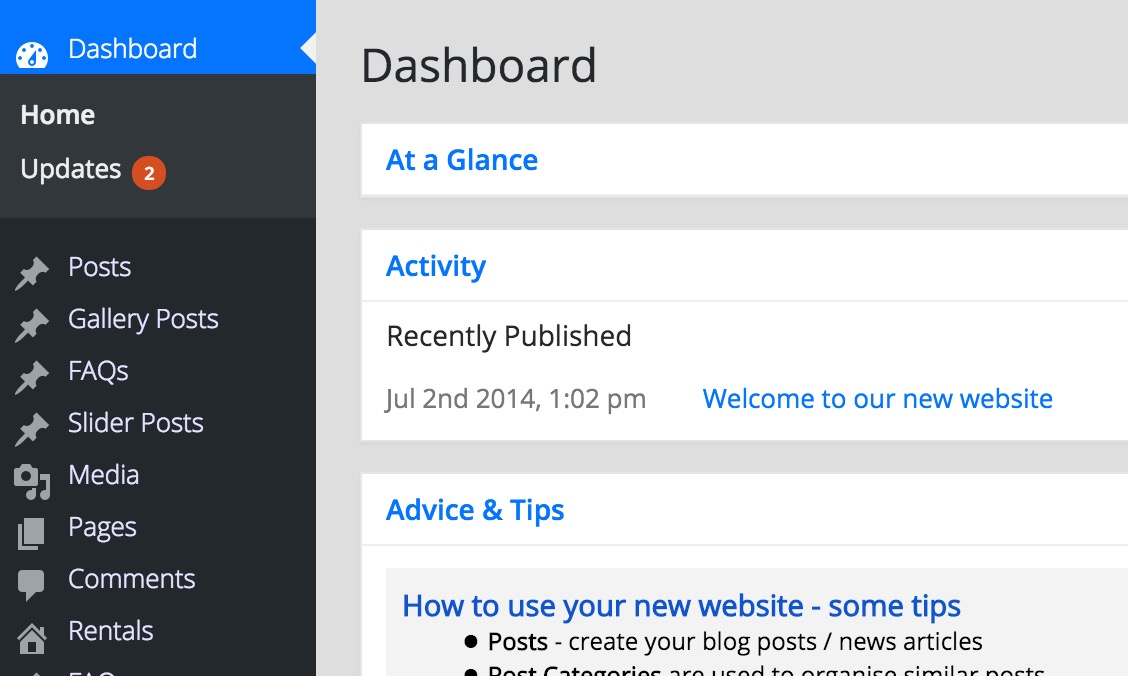
Login to the backend of your website: (You should have already been sent the login details for your website when it was launched)
Click "Edit" on a listing to edit it, or click "Add new" button at the very top of the page to create a new rental listing.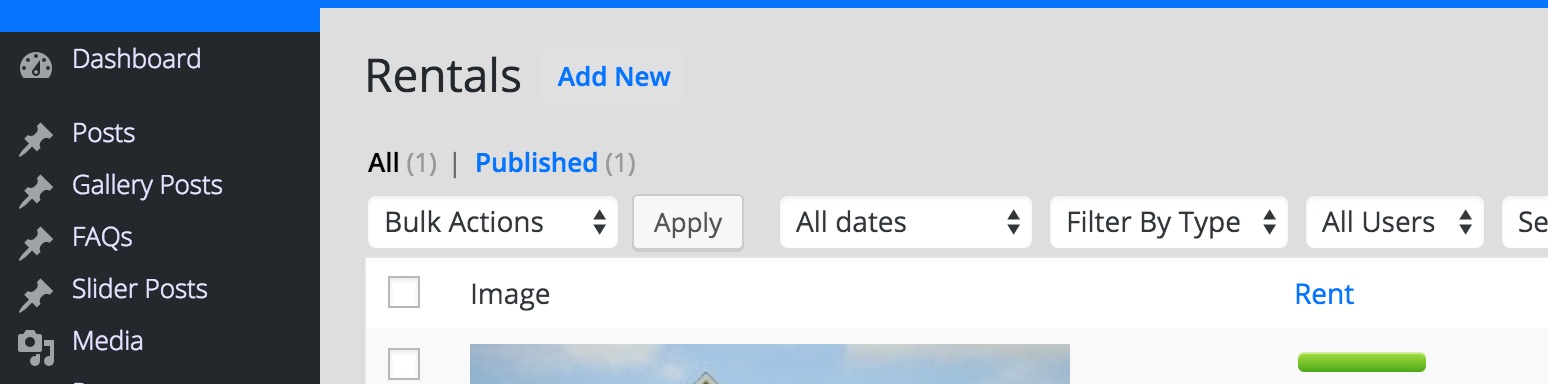
When creating a rental listing, fill out as many fields as possible. You could edit the example listing we setup for you, to see how we have configured it, and how it looks on the front end of the site to visitors.)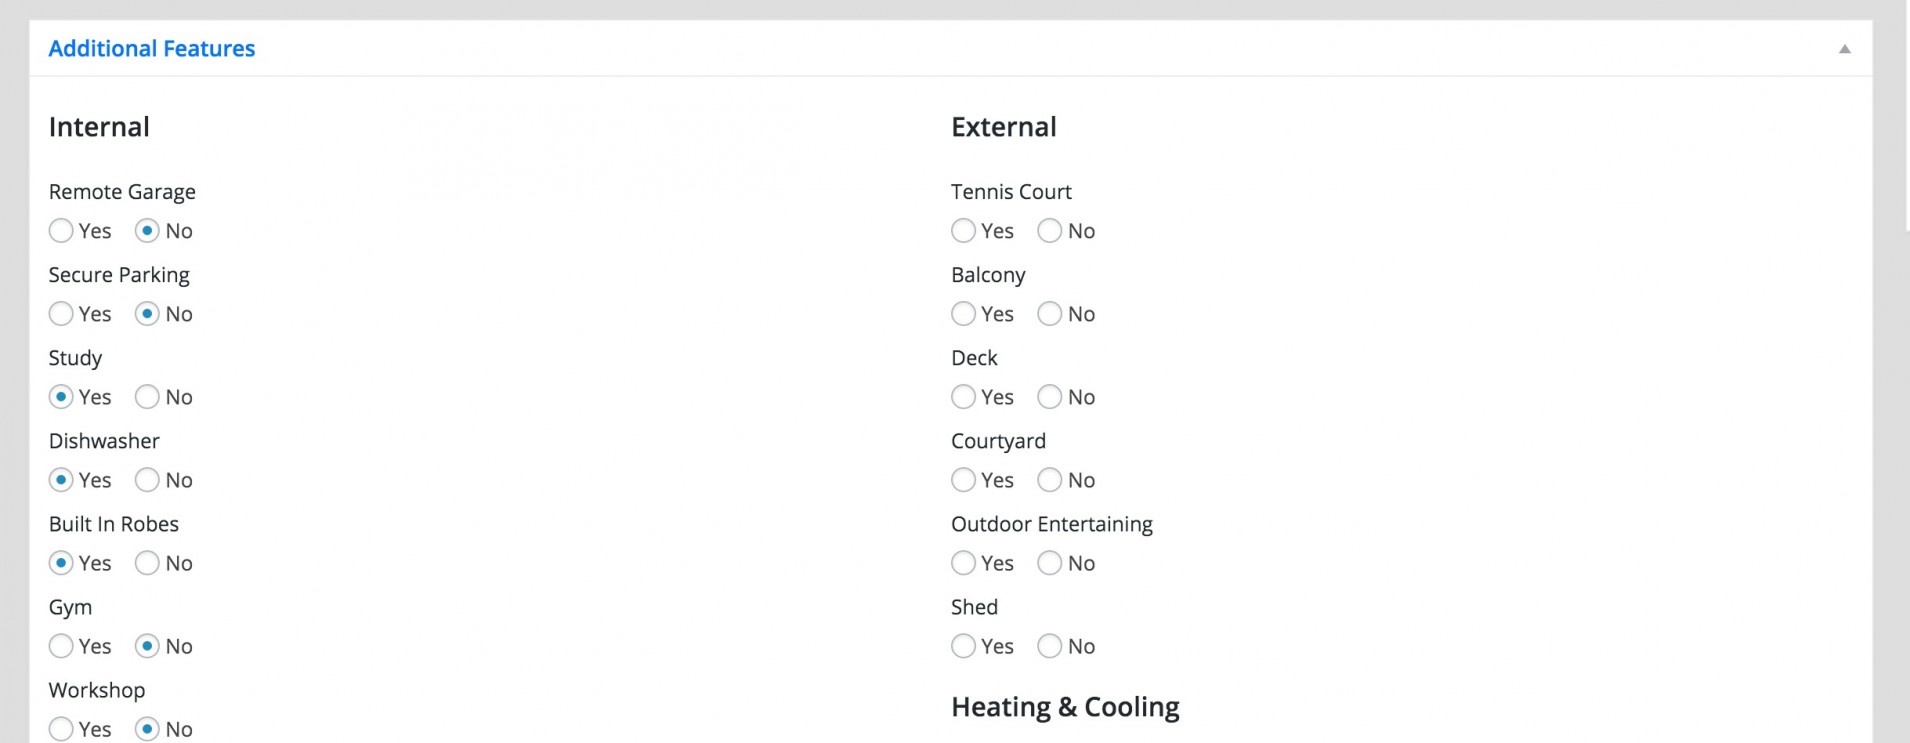
Many boxes can be left blank if you do not have information, and the fields will not show on the frontend.
To set a map to appear on the listing, simply enter the full address for the property into the Address box, then save the post and the map will appear. 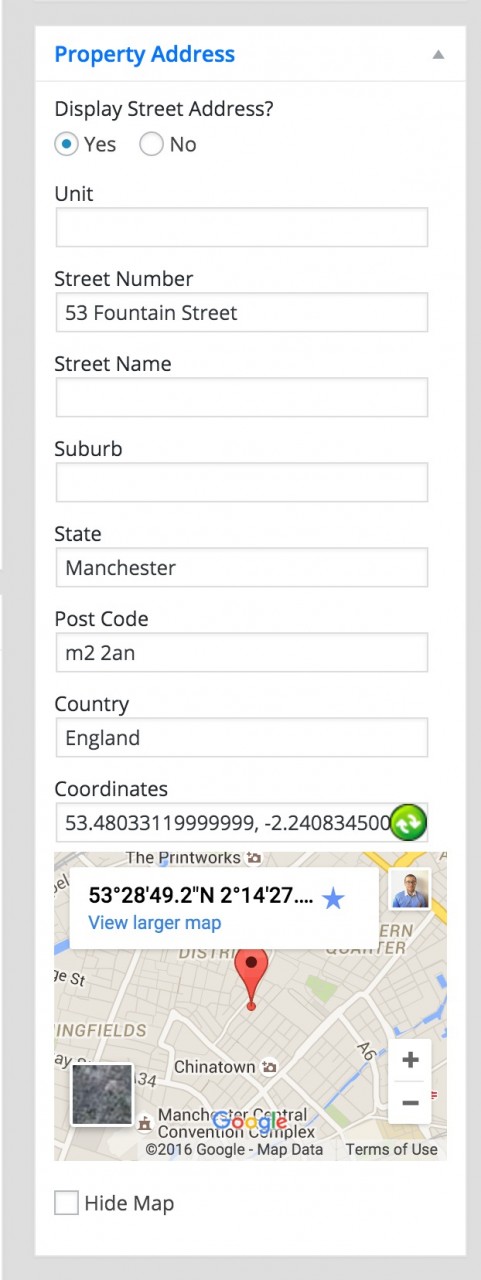
To set a large image for the property listing, whilst editing the listing, find the "Featured Image" box, and click "Add featured image
Section 2: To add small additional images to your listing
- To add small additional mages to your listing, which can be clicked,
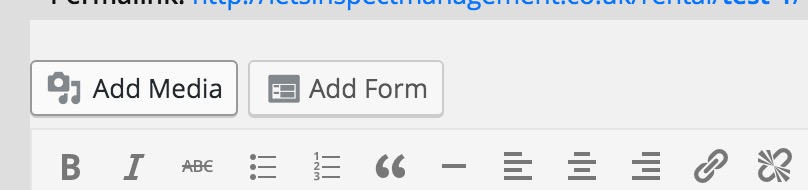
- Whilst editng the post, find and click the "Add media" button, just below the Title box.
- A popup box will appear,
- You can upload several photos to the listing, by dragging and dropping the photos onto the box, or select the files from your computer
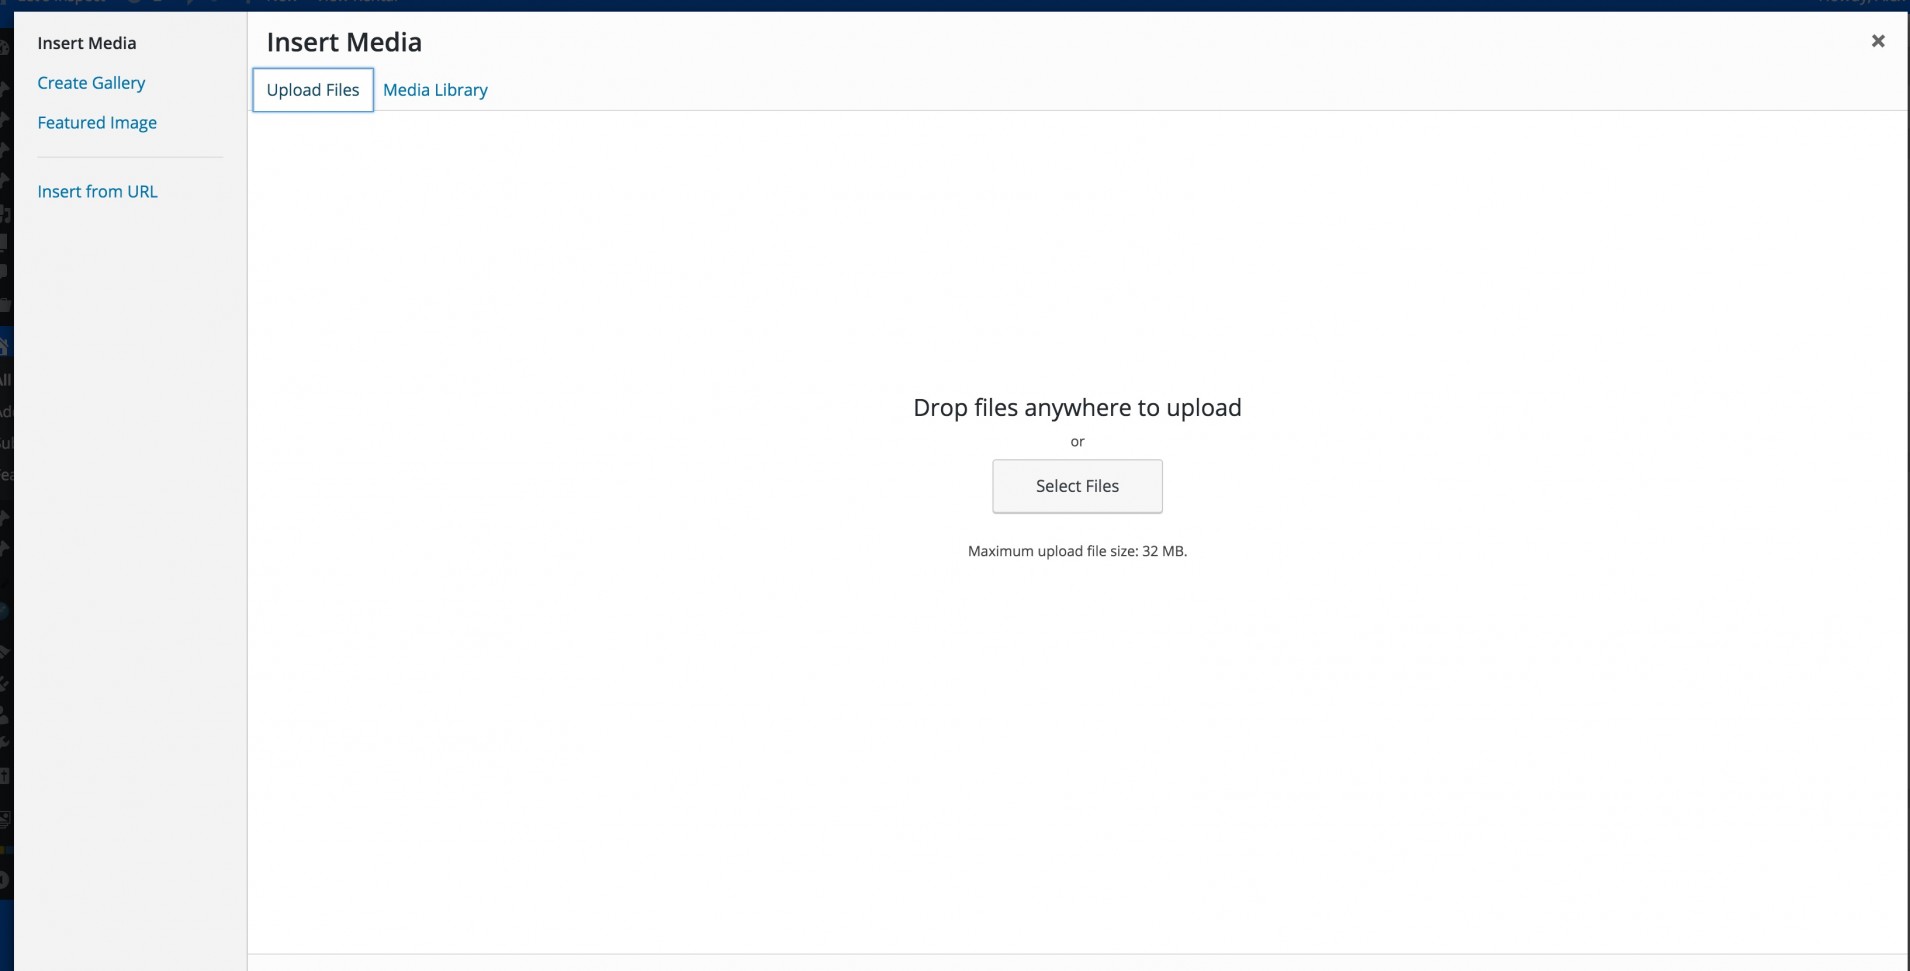
- Wait until they upload and optimise.
- Next, once the photos are uploaded, they are automatically "Associated" with the post
- So just click save/update to update the post.
- (YOU DO NOT NEED "TO INSERT" THE PHOTOS INTO THE POST)
- Now you are back on the edit listing screen, the photos have been uploaded and attached in the background.
- You will not be able to see the photos in the admin area (but they are attached to the listing in the background)
- If you can see any photos in the text editing box, select them and delete them, or else they will appear twice on the page.
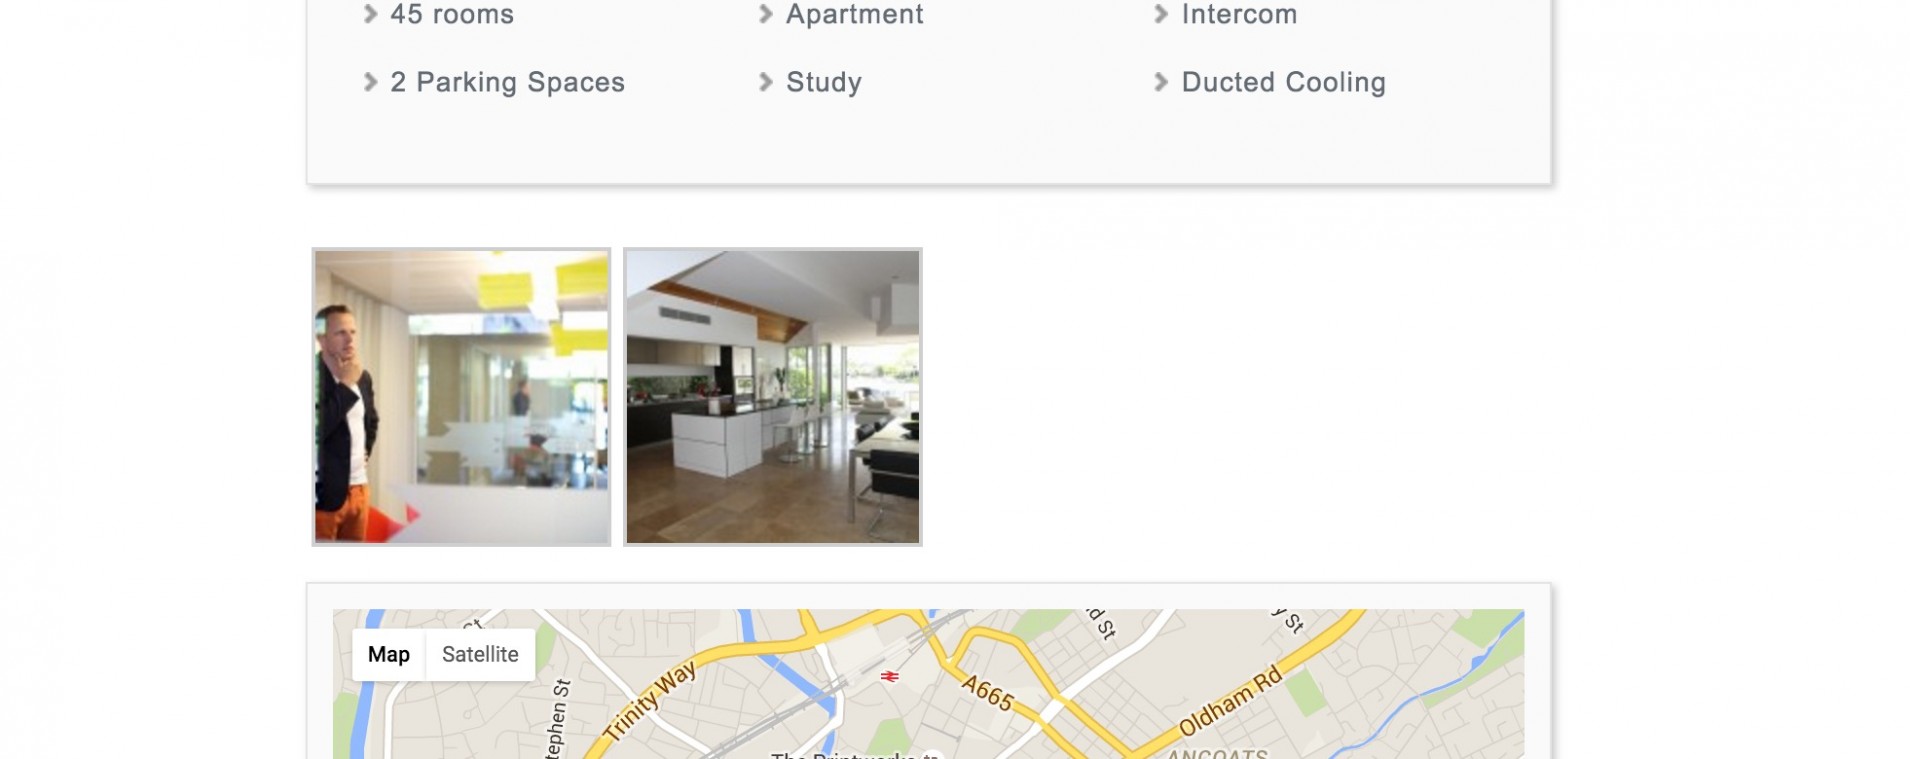
- When you view the listing on the front end as a customer, you will see the small thumbnails for your photos on your listing.
To Delete any Attached photos from the property listing post
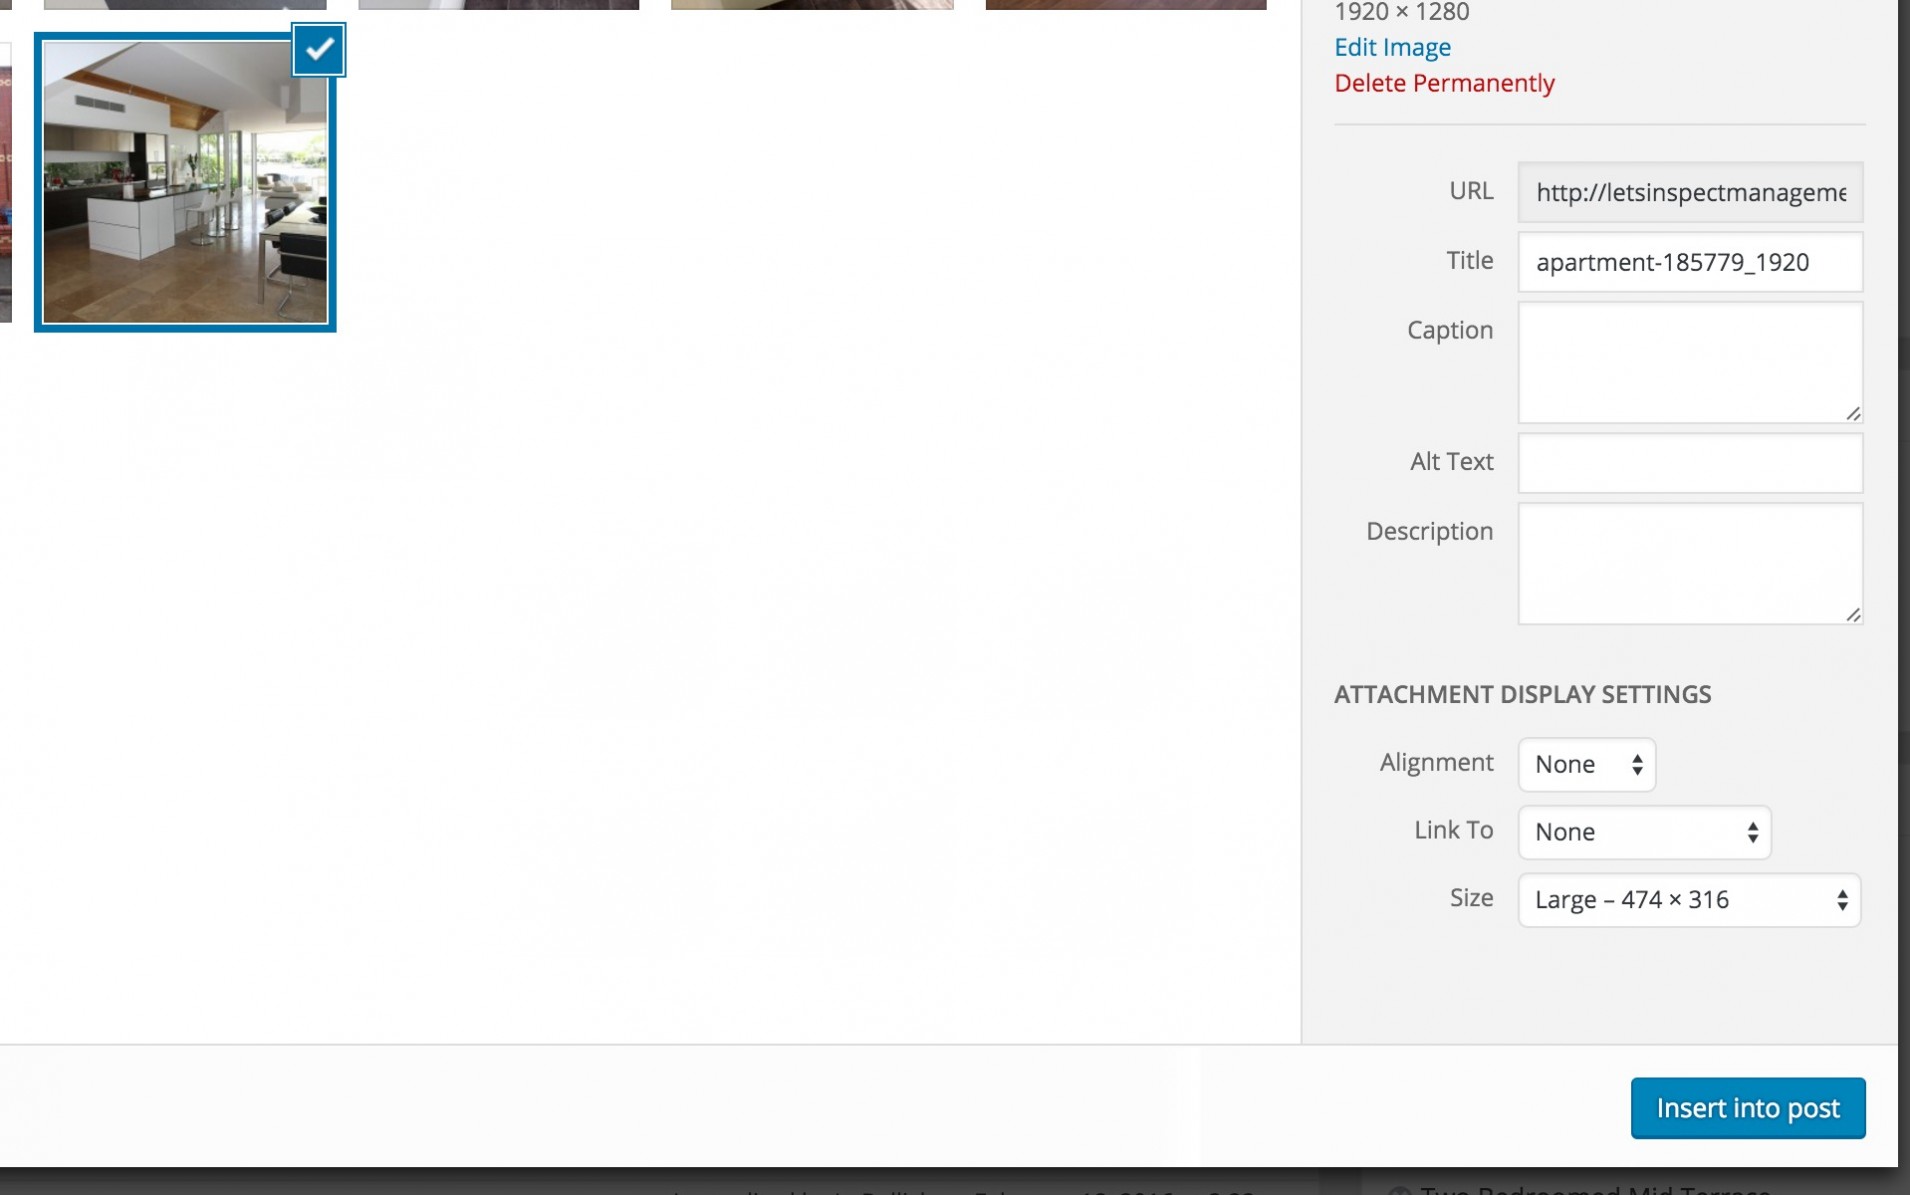
- If there are extra images showing on your post, that you want to delete, you can do this by clicking "Add media"
- The add media dialogue popup box will appear.
- Make sure you have selected the "Media Library" tab at the top, so that you are viewing all the files in your library.
- Near the top you can change the dropdown selector to show "Uploaded to this post" items in the media library.
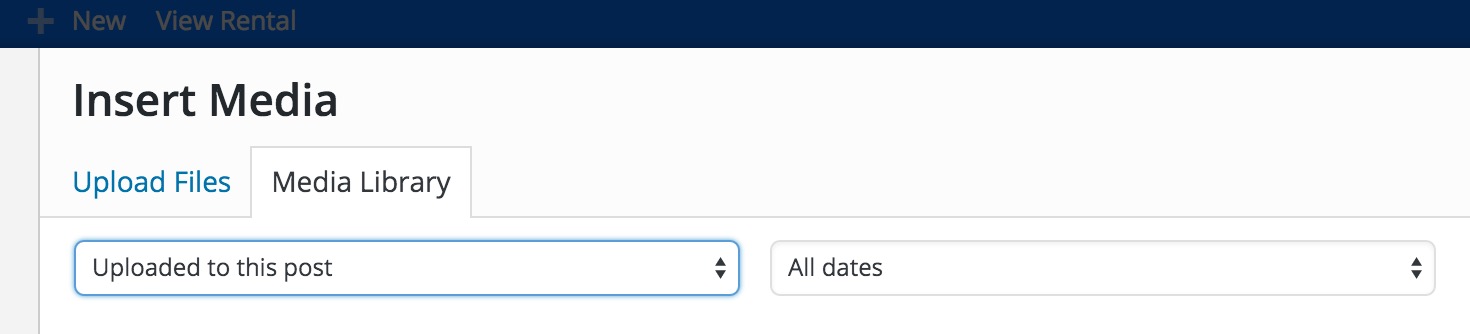
- This will filter to show all the photos attached to this post.
- Select the photo you want to delete, then in the top right click the RED "Delete Permanently" button.
- Click the "X" button to close the media popup box.
- Click Update or save draft on your post to update.
- The deleted photo(s) will no longer appear on your posted listing.